Epoxy resin floors: 2025’s Ultimate Guide
Why Epoxy Resin Floors Are Taking Over Modern Spaces
Epoxy resin floors are rapidly becoming the go-to flooring solution for those who want durability, style, and easy maintenance. These seamless surfaces combine advanced polymer technology with stunning visual appeal to create floors that can handle everything from heavy foot traffic to chemical spills.
Quick Answer: What Are Epoxy Resin Floors?
- Material: 100% solids thermosetting polymer coating applied over concrete
- Thickness: Ranges from 10-250 mils (coatings to mortars)
- Durability: Lasts 10+ years with proper installation and maintenance
- Applications: Garages, basements, commercial spaces, industrial facilities
- Cost: $3-30 per square foot depending on system type and complexity
- Installation: Requires surface preparation, mixing resin components, application, and a 48-hour cure time
The global epoxy flooring market is booming, valued at over $1.7 billion and projected to grow significantly. This growth is driven by epoxy’s superior chemical resistance, abrasion resistance, and aesthetic appeal compared to traditional flooring.
However, successful epoxy installation is all about preparation. As one industry expert puts it, “The number one reason for coating failure is lack of, or improper, surface preparation.” This guide will walk you through every step, from choosing the right system to achieving a perfect high-gloss finish.
I’m Ramy Saber, a Civil Engineer and founder of الأميرة سندريلا A&C. I’ve helped countless clients transform their spaces with epoxy resin floors and other modern flooring solutions. My experience has shown me how the right flooring can completely change how a space looks, feels, and functions.

Why Choose Epoxy Flooring? The Unbeatable Benefits
When considering flooring options, epoxy resin floors stand out for their unique combination of benefits. They are versatile enough for a busy commercial space or a home garage, delivering superior durability, stunning aesthetics, effortless maintenance, and impressive chemical resistance.

These benefits are combined into one seamless surface. The high light reflectivity can transform a dark space into a bright, welcoming environment, while slip-resistant additives improve safety.
Durability and Strength
An epoxy floor can handle forklift traffic, resist the impact of dropped tools, and still look fantastic after years of use. The industrial-grade formulation creates a surface with exceptional abrasion, chemical, and impact resistance. Unlike flooring that might crack or chip, epoxy flexes to absorb impact, which protects the underlying concrete from deterioration. With proper installation, these floors can last 10 years or more, making them a smart long-term investment.
Aesthetic Versatility
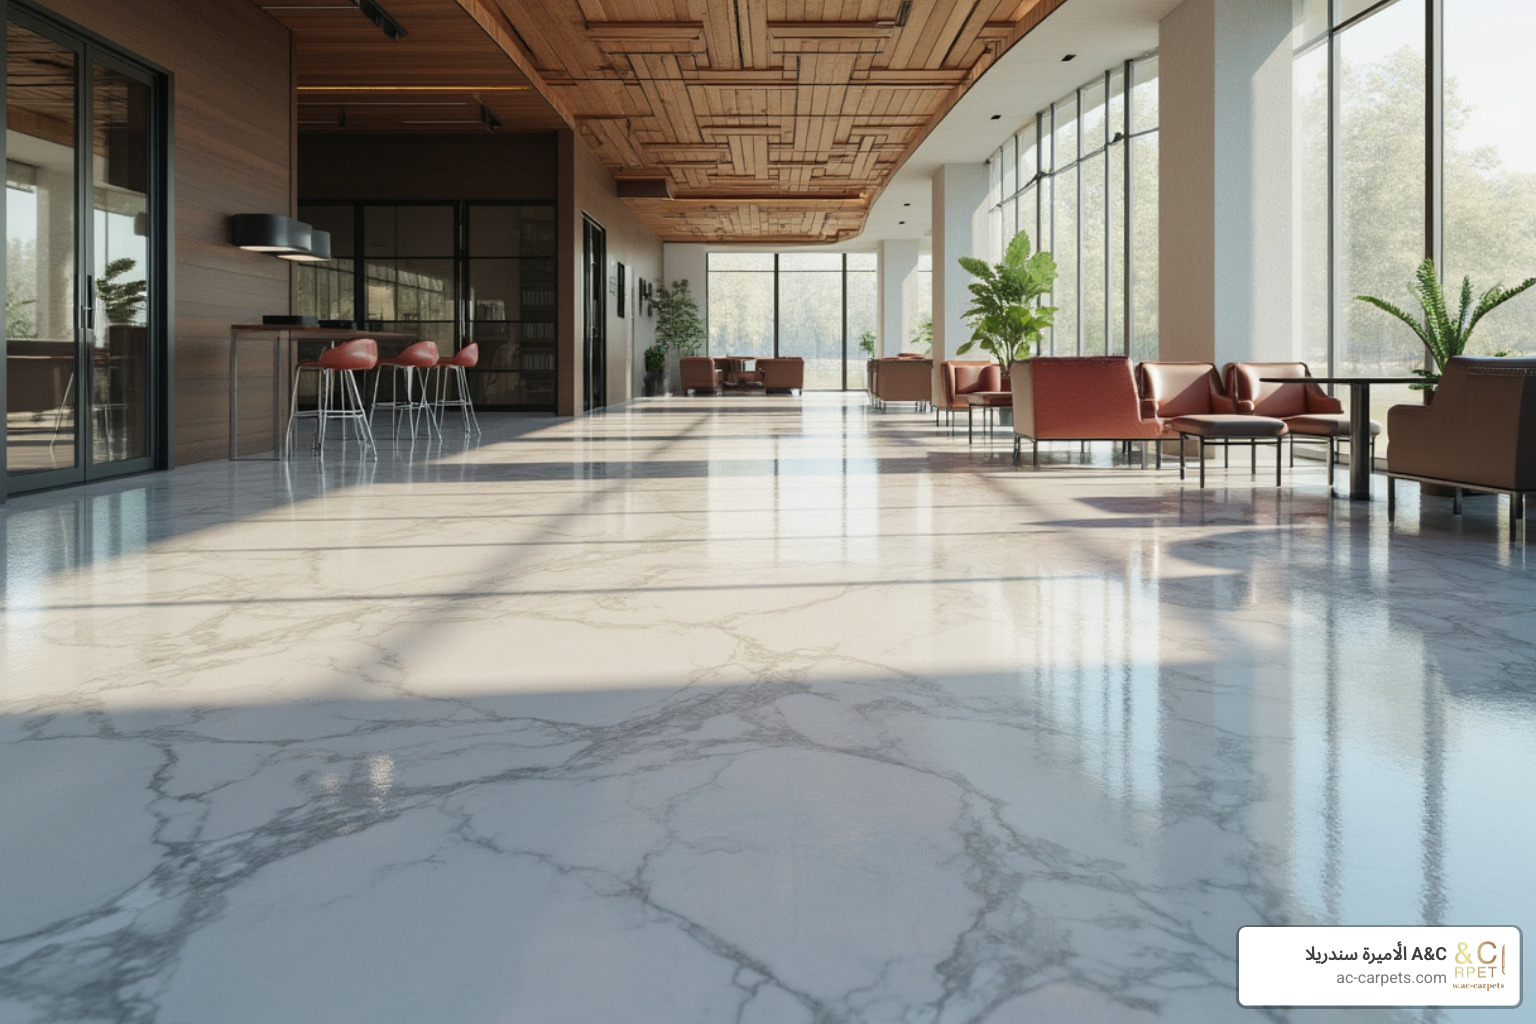
Modern epoxy systems offer vast design possibilities. High-gloss finishes create mirror-like surfaces that make spaces appear larger and brighter, while matte finishes offer sophisticated elegance.
- Metallic pigments create swirling, liquid-metal effects.
- Color flakes can be broadcast into the epoxy to create granite-like speckled patterns.
- Custom logos can be seamlessly integrated for branded spaces.
- 3D effects can create optical illusions of depth and dimension.
- Unlimited colors are available through custom tinting to match any design scheme.
Low Maintenance and Hygiene
The seamless, non-porous surface of epoxy resin floors means there are no cracks or joints where dirt and bacteria can hide. This makes cleaning incredibly straightforward—most spills wipe up easily. The surface offers excellent stain resistance and has no grout lines to scrub or seal. This smooth surface also resists bacteria growth, making it an excellent choice for environments where cleanliness is critical, such as commercial kitchens, medical facilities, and homes.
Before You Begin: Planning Your Project
Starting an epoxy resin floor project requires careful planning to save time, money, and headaches.
Choosing the Right Type of Epoxy for Your Floor
Understanding the different types of epoxy is crucial for selecting the right product for your needs.
- 100% Solids Epoxy: This is the highest quality option for epoxy resin floors. It contains no solvents that evaporate, resulting in a thick, durable coating with superior adhesion, chemical resistance, and a long lifespan. Formulations are often self-leveling and designed to reduce common issues like water spotting. This is our top recommendation for most heavy-duty applications.
- Water-Based Epoxy: These epoxies use water as a carrier. They are thinner, easier to apply, and have lower Volatile Organic Compounds (VOCs), making them less odorous. However, they are generally less durable than 100% solids epoxies.
- Solvent-Based Epoxy: These contain solvents that release strong fumes and VOCs during curing. While durable, their use is less common due to environmental and health concerns.
- Self-Leveling Epoxy: Designed to flow and create a smooth, level surface, these are ideal for finishing concrete with minor imperfections.
- Mortar Epoxy: The strongest system, made by combining 100% solids epoxy with sand or quartz. It’s used for repairing damaged concrete or for creating extremely high-strength floors in industrial settings.
Here’s a quick comparison to help you decide:
| Feature | 100% Solids Epoxy | Water-Based Epoxy |
|---|---|---|
| Cost | Higher upfront cost, excellent long-term value | Lower upfront cost |
| Durability | Excellent (industrial-grade, high impact/abrasion) | Good (light to medium traffic) |
| VOCs | Low to Zero | Very Low |
| Ease of Application | Requires more experience due to shorter pot life | Easier for DIYers, longer working time |
| Thickness | Thicker, high-build coating | Thinner coating |
| Chemical Resistance | Excellent | Good |
Design and Finish Options
Once you’ve chosen the epoxy type, you can select your design. The aesthetic possibilities with epoxy resin floors are expansive.
- Solid Colors: A classic, uniform look available in virtually any color.
- Metallic Effects: Metallic pigments are mixed into the epoxy to create stunning, one-of-a-kind floors with depth and movement.
- Flake/Chip Systems: Vinyl flakes are broadcast onto the wet epoxy to create a multi-colored, granite-like finish that also provides a subtle slip-resistant texture.
- Quartz-Filled Systems: For extreme durability, quartz aggregates are incorporated into the epoxy, creating a highly resistant textured finish.
- Matte vs. Gloss Finish: A high-gloss finish reflects light and makes spaces feel brighter, while a matte finish offers a more understated, modern look. Both can be improved with anti-slip additives.
Your Step-by-Step Guide to Installing Epoxy Resin Floors
Installing epoxy resin floors is achievable with the right preparation and patience. The key is maintaining proper ventilation and keeping your workspace at the right temperature (ideally between 60-90°F).

Surface preparation is the most critical step. “The number one reason for coating failure is lack of, or improper, surface preparation.” This step determines whether your floor will last for decades or peel within months.
Step 1: Surface Preparation
First, cleaning and degreasing the entire concrete surface. Any oil, grease, or dirt will prevent the epoxy from bonding. Use a heavy-duty degreaser, scrub thoroughly, and rinse completely.
Next is mechanical preparation: concrete grinding, diamond grinding, or shot blasting. This is not optional for professional results. These processes create a rough surface profile (like 80-grit sandpaper) that the epoxy can grip.
Fill any cracks and pits with a suitable epoxy patching compound. This will prevent them from showing through the final coat.
Perform a moisture test using a calcium chloride test. Excessive moisture vapor from the concrete can cause the epoxy to lift. Finally, use painter’s tape to protect your walls and baseboards by taping edges.
Step 2: Priming and Mixing
Apply a primer coat to ensure a strong bond between the concrete and the epoxy. The primer also prevents “outgassing,” which causes air bubbles in the finished floor.
Epoxy resin floors use a two-part system: Resin (Part A) and Hardener (Part B). When mixed, a chemical reaction begins that turns the liquid into a solid.
- Mix Ratio: Follow the product’s specified mix ratio (e.g., 2:1 by volume) exactly. Use measuring cups for accuracy.
- Mixing Technique: Mix thoroughly for about 3 minutes with a low-speed drill and mixer attachment, scraping the sides and bottom of the bucket to ensure all material is incorporated.
- Pot Life: Once mixed, the epoxy has a limited pot life (workable time in the bucket, often ~20 minutes) and working time on the floor (about 45 minutes). Only mix what you can apply within this timeframe.
Step 3: Application
Immediately after mixing, pour the epoxy in long ribbons across the floor. Use a squeegee to spread it evenly, aiming for consistent coverage.
Next, perform back-rolling for evenness with a 3/8″ nap roller. This smooths out squeegee lines and helps pop air bubbles for a professional finish.
If you’re adding decorative flakes, broadcast them evenly while the epoxy is still tacky. It’s wise to have extra flakes on hand. Wear spiked shoes to walk on the wet epoxy without leaving marks.
Step 4: Curing and Top Coat
For maximum durability, UV resistance, and scratch protection, apply a clear top coat. This optional layer prevents yellowing from sunlight and adds significant protection.
Now, wait for the curing time. The floor can handle light foot traffic after about 24 hours, but wait at least 48-72 hours for heavy traffic or vehicles. A full cure can take over a week. During the first 48 hours, protect the floor from all moisture, as it can ruin the chemical bonding process.
Beyond Installation: Care, Longevity, and Troubleshooting
Once your epoxy resin floor is installed, proper care will keep it looking fantastic for years. While issues like bubbles, peeling, or discoloration can occur due to improper installation or UV exposure, most problems have straightforward solutions.

Maintenance Tips for Long-Lasting Epoxy Resin Floors
Maintaining epoxy resin floors is simple.
- Routine cleaning: Sweep or vacuum loose dirt, then mop with a pH-neutral cleaner. Avoid harsh, abrasive cleaners that can damage the finish.
- Spill management: Wipe up spills immediately to prevent potential staining on the non-porous surface.
- Protective mats: Use mats in high-traffic areas or under vehicle tires to prevent wear and hot tire pickup.
- Re-coating schedules: After many years, a worn or dull floor can be refreshed with a new top coat rather than requiring a full replacement, saving money and reducing waste.
Potential Drawbacks and Considerations
Be aware of the potential challenges with epoxy resin floors.
- Slippery surfaces when wet: A smooth, high-gloss finish can be slick. This is easily solved by using slip-resistant additives in the top coat or choosing a textured system.
- Installation complexity: The process, especially surface preparation, is intensive and requires precision. Many choose professional installation to ensure a flawless result.
- Strong fumes during application: While modern 100% solids epoxies have low VOCs, proper ventilation and respiratory protection are still essential during installation.
- Curing time: The space will be out of commission for at least 24-72 hours, which requires planning.
- Yellowing from UV exposure: Standard epoxy can yellow with sun exposure. A UV-resistant polyurethane top coat is the best solution to preserve the floor’s color.
At الأميرة سندريلا A&C, we help you weigh these factors to choose the right flooring for your needs.
Frequently Asked Questions about Epoxy Floors
We get a lot of questions about epoxy resin floors at الأميرة سندريلا A&C. Here are the answers to the most common ones.
How much do epoxy resin floors cost?
The cost of epoxy resin floors ranges from $3 to $30 per square foot. The final price depends on several factors:
- Type of system: A simple, single-color coating costs less than a decorative metallic design or a heavy-duty mortar system.
- Surface preparation: Extensive grinding, crack repair, or moisture treatment will add to the total cost.
- DIY vs. professional installation: DIY saves on labor, but professional installation includes expertise, equipment, and often a warranty.
- Design complexity: Custom logos or intricate metallic patterns require specialized skills and materials, increasing the price.
While the upfront cost may be higher than some alternatives, the longevity and low maintenance of epoxy often make it more cost-effective in the long run.
How long does an epoxy floor last?
A properly installed and maintained epoxy floor typically lasts 10 years or more, with some industrial floors lasting over 20 years. Lifespan depends on:
- Quality of materials: High-quality, 100% solids epoxy systems will outlast cheaper coatings.
- Installation quality: Proper surface preparation and application are critical for longevity.
- Traffic and use: The system must be chosen to match the level of traffic it will endure.
- Maintenance: Regular cleaning and avoiding harsh chemicals will extend the floor’s life.
- UV exposure: Floors in direct sunlight require a UV-stable topcoat to prevent degradation.
Can I install an epoxy floor myself?
Yes, a DIY installation is possible, but it is a demanding project. It requires patience, meticulousness, and the ability to work under pressure due to epoxy’s limited working time.
The importance of preparation cannot be overstated and often involves renting specialized equipment like concrete grinders.
Common DIY mistakes include inadequate surface prep (leading to peeling), improper mixing (creating soft spots), ignoring pot life, applying over wet concrete, and poor ventilation.
When should you hire a professional? For large areas, complex designs, or commercial applications, professional installation is highly recommended. Professionals have the experience and equipment to ensure a flawless, long-lasting result and handle any unexpected issues.
Conclusion
We’ve covered the durability, stunning visual possibilities, and installation process of epoxy resin floors. You now have the information needed to make an informed decision about this remarkable flooring solution.
Epoxy resin floors offer a perfect marriage of form and function. They are tough enough to handle heavy traffic, chemical spills, and impacts while providing endless design options, from sleek metallic finishes to practical flake systems.
What truly sets epoxy apart is its longevity and low maintenance. A floor that can last 10+ years with minimal care is an incredibly cost-effective investment. You can forget about scrubbing grout lines or replacing cracked tiles.
As a leader in innovative flooring solutions, الأميرة سندريلا A&C understands that modern spaces demand surfaces that are both practical and visually appealing. The right flooring can transform a space, turning a drab concrete floor into a showpiece.
Success with epoxy resin floors comes down to proper preparation and choosing the right system. Whether you opt for a DIY project or hire professionals, you are investing in a high-performance flooring system that will serve you well for years. Your space deserves a modern, durable, and beautiful solution that stands the test of time.